

Creating and Managing Sessions
Create, schedule, and manage lab sessions for your students.
A session is how you deliver a lab to your students for a set period of time. From the Sessions page, you can see your active and past sessions, manage them, and create new ones. To understand how sessions relate to labs, pages, and activities, see Content Structure.
Opening the Sessions Page
- In the left sidebar, under Teacher's Desk, select Sessions.
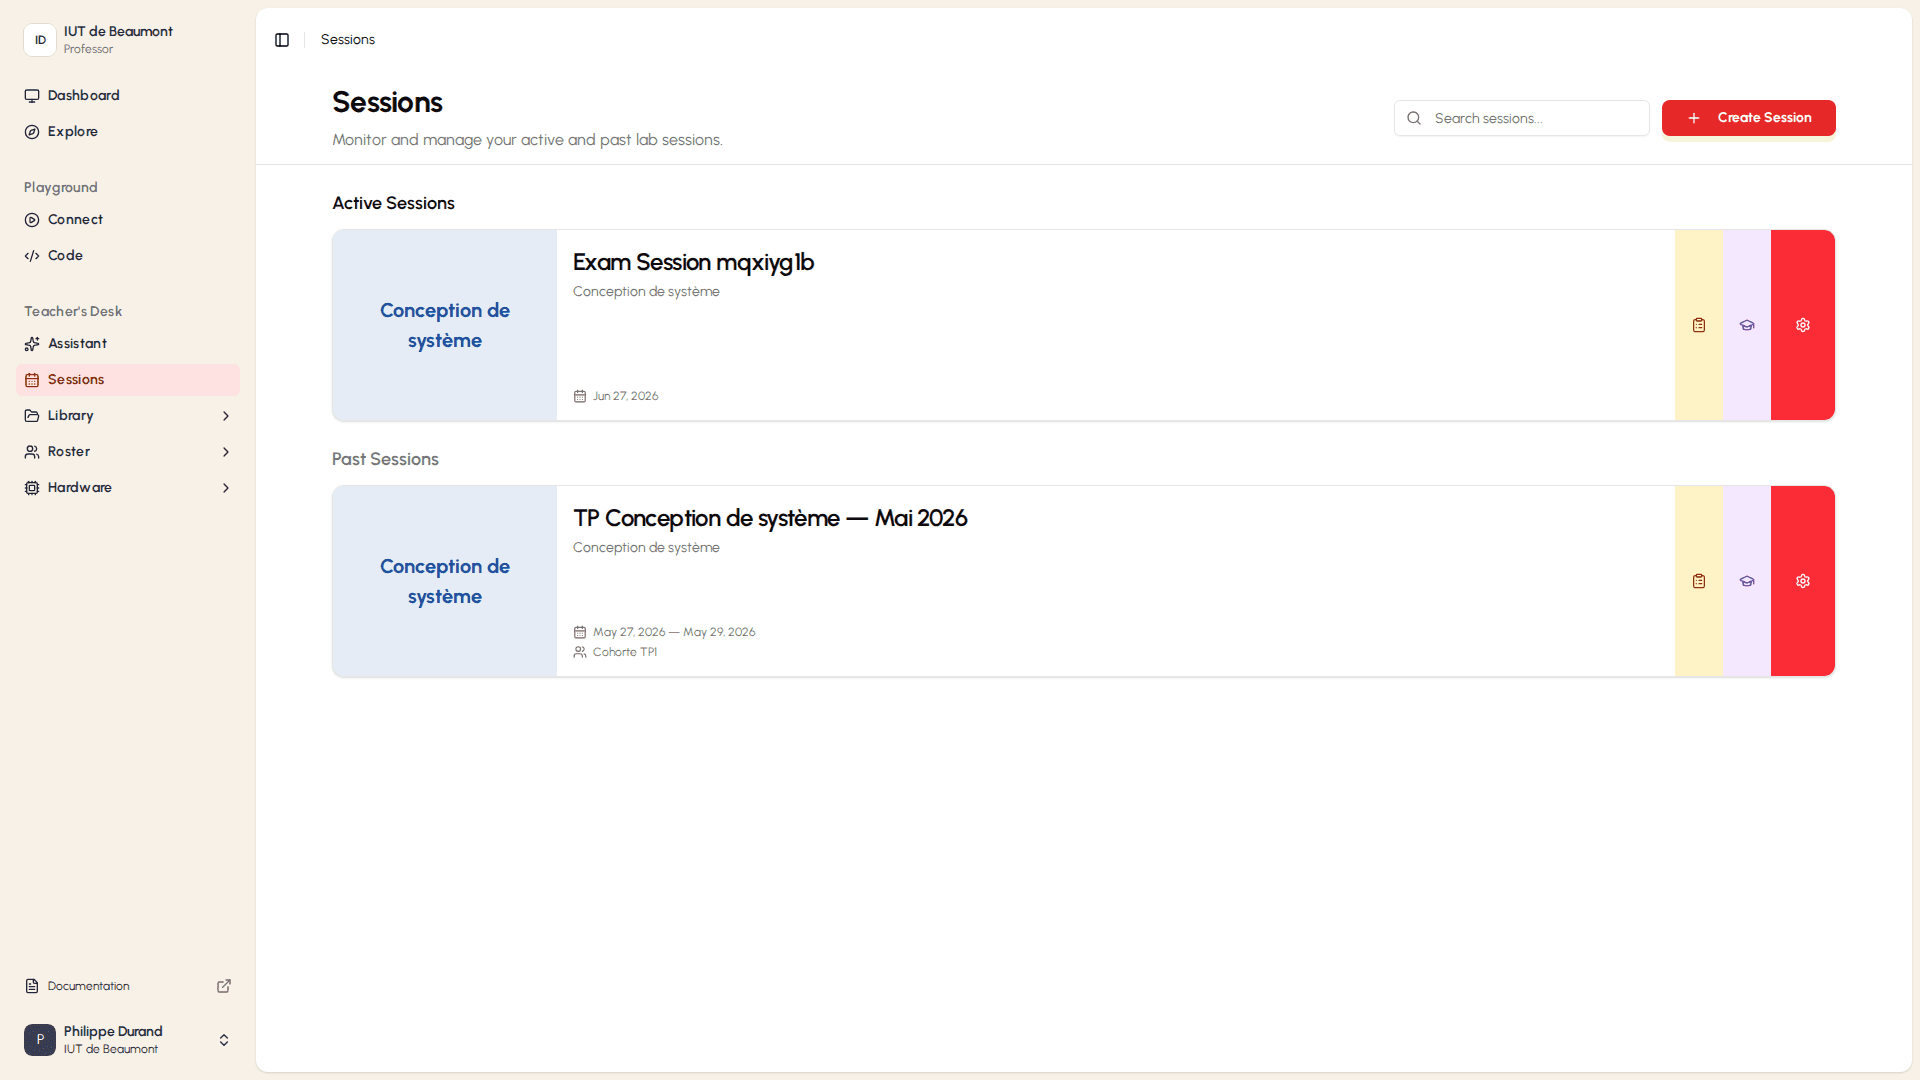
Each card in Active Sessions shows:
- A thumbnail of the lab's circuit or content.
- The session title and a short description.
- The date range during which the session is open.
- Three quick-access icons on the right: a clipboard, a graduation cap, and a gear, which link to session-specific actions.
Creating a New Session
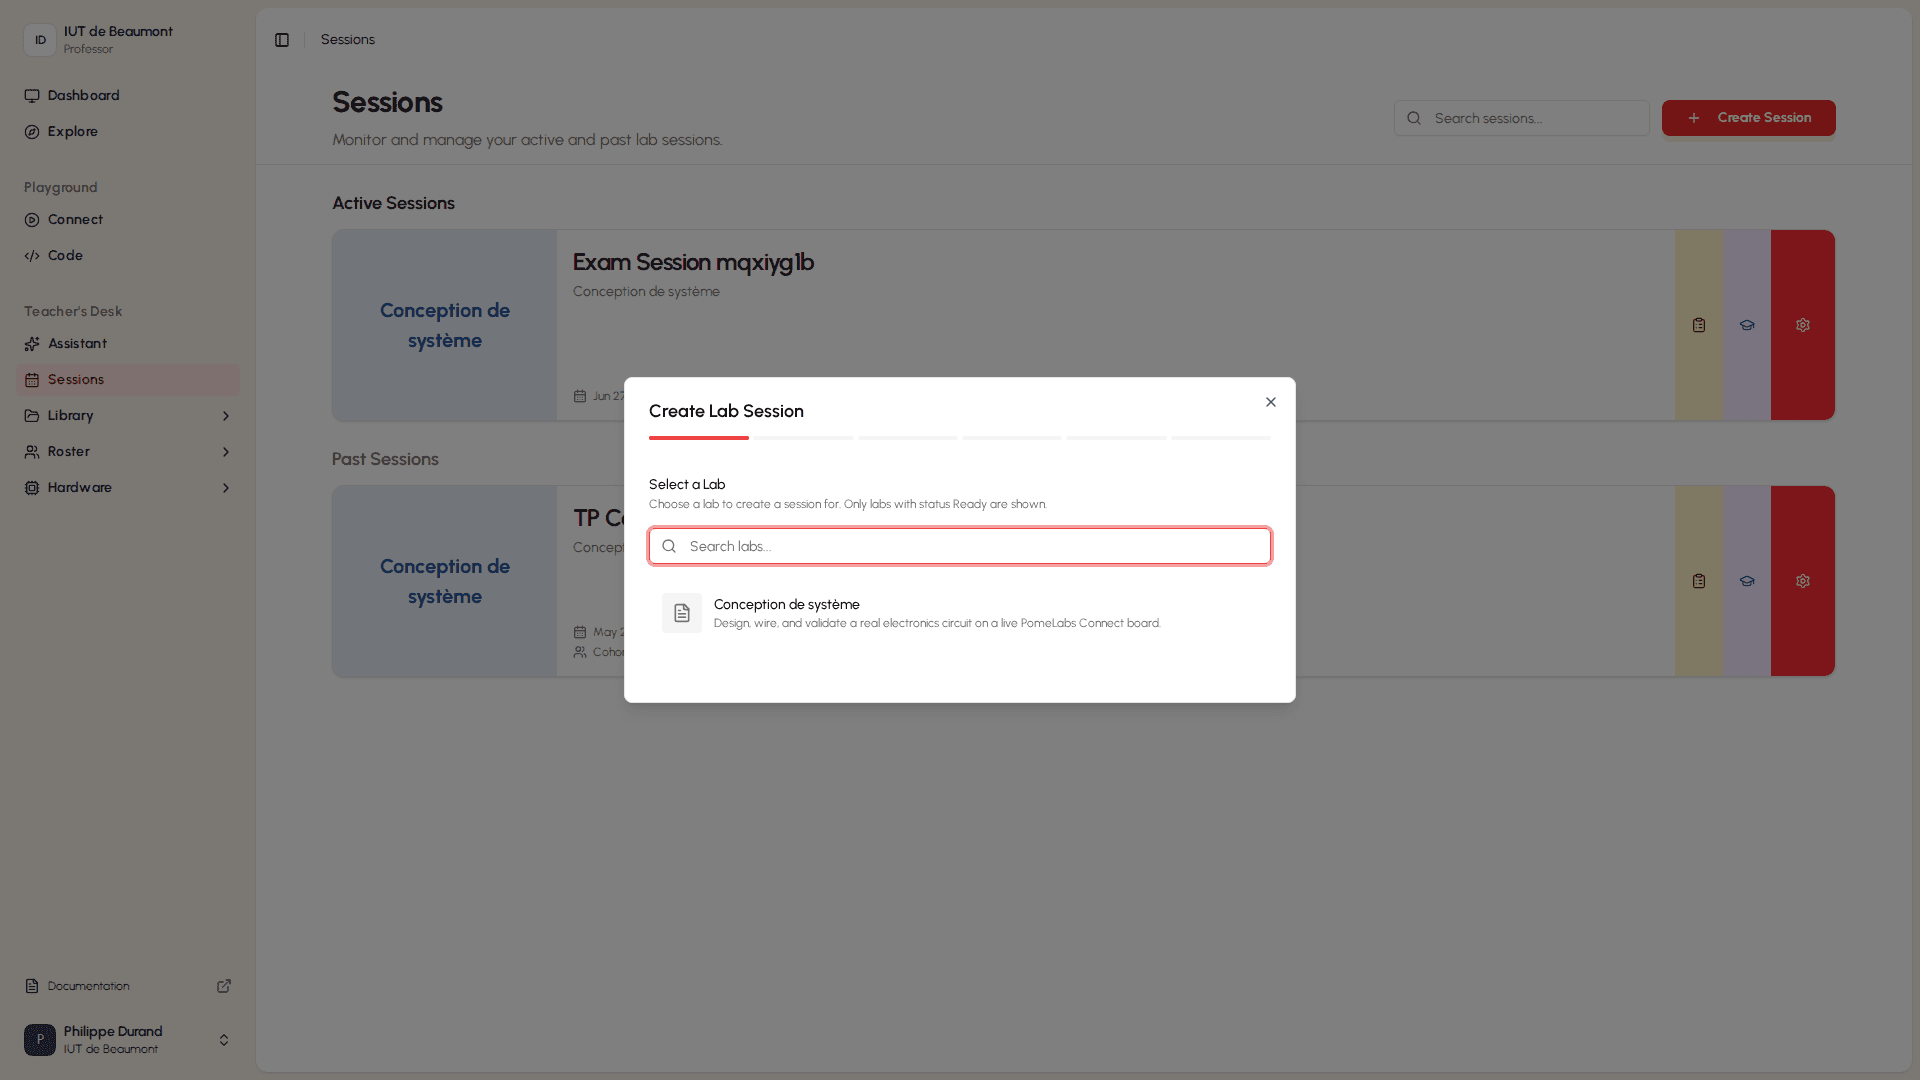
- On the Sessions page, select + Create Session. The Create Lab Session wizard opens. A progress bar at the top of the wizard shows which of the five steps you're currently on.
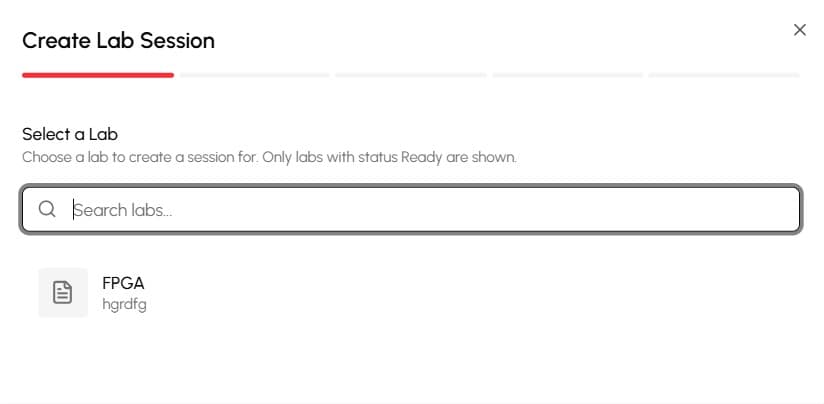
Step 1: Select a Lab
In the Search labs... field, search for the lab you want to create a session for.
Step 2: Name Your Session
In the Session Title field, enter a descriptive name for the session, or keep the suggested title.
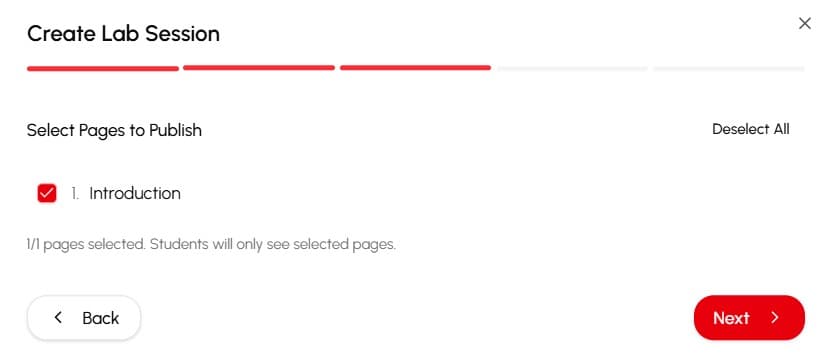
Step 3: Select Pages to Publish
Select the checkbox next to each page you want students to see during the session. Select Deselect All to clear all selections and start over.
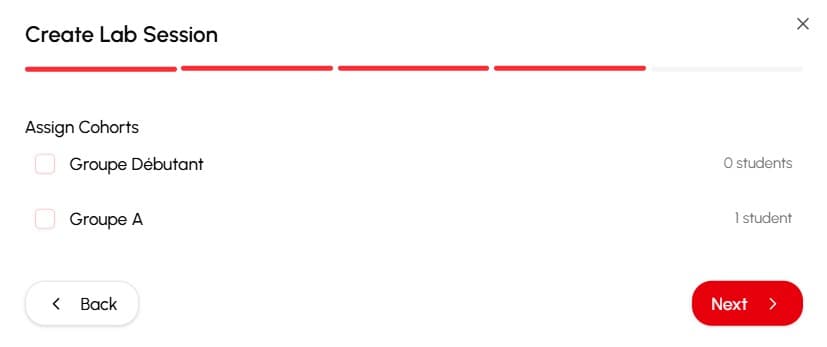
Step 4: Assign Groups
Select the checkbox next to each group you want to give access to this session. The number of students in each group is shown on the right.
Step 5: Set the Schedule and Review
- Review the Summary section, which shows the lab, title, number of pages, and groups you selected in the previous steps.
- Select Create Session.
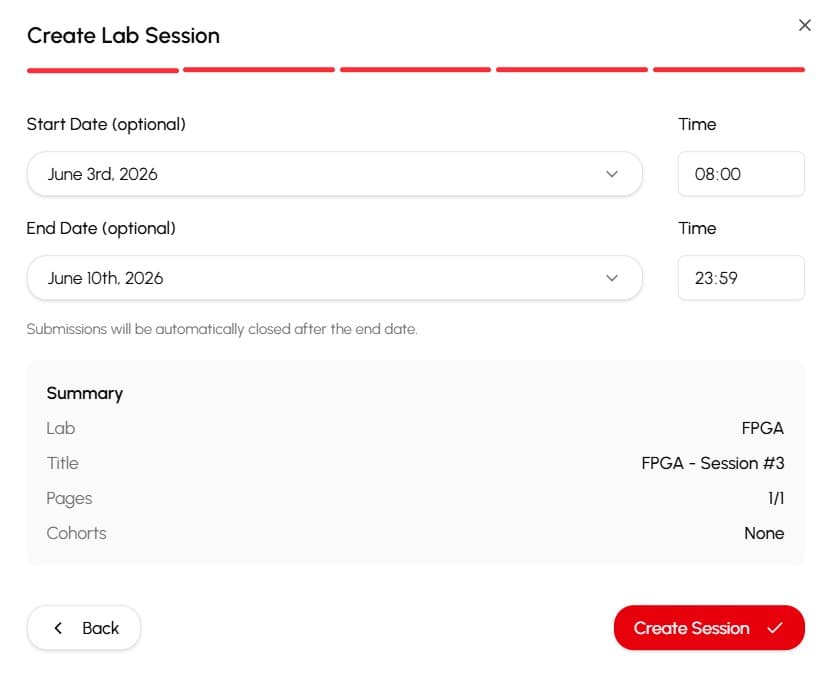
(Optional) In the Start Date and End Date fields, select the dates the session should be open, and set the Time for each.
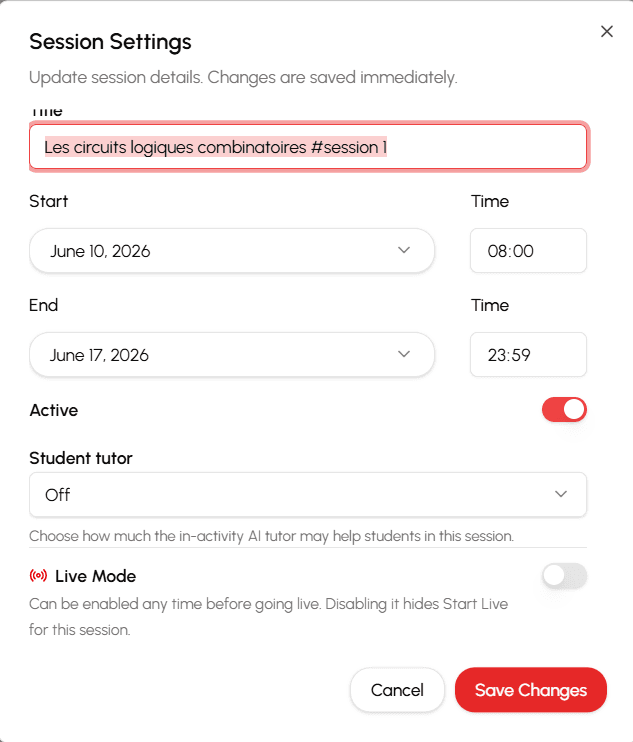
Managing Your Sessions
How is this guide?