

Creating an Activity
Create reusable quiz, Connect, and code activities for your labs.
Activities are reusable pieces of content — quizzes, Connect exercises, or code exercises — that you can add to your labs for students to complete. From the Activity Templates page, you can create, manage, and reuse activities across your labs. To understand what an activity is made of, see Activity Structure. To see how activities fit into the content hierarchy, see Content Structure.
Opening the Activity Templates Page
In the left sidebar, under Library, select Activities.
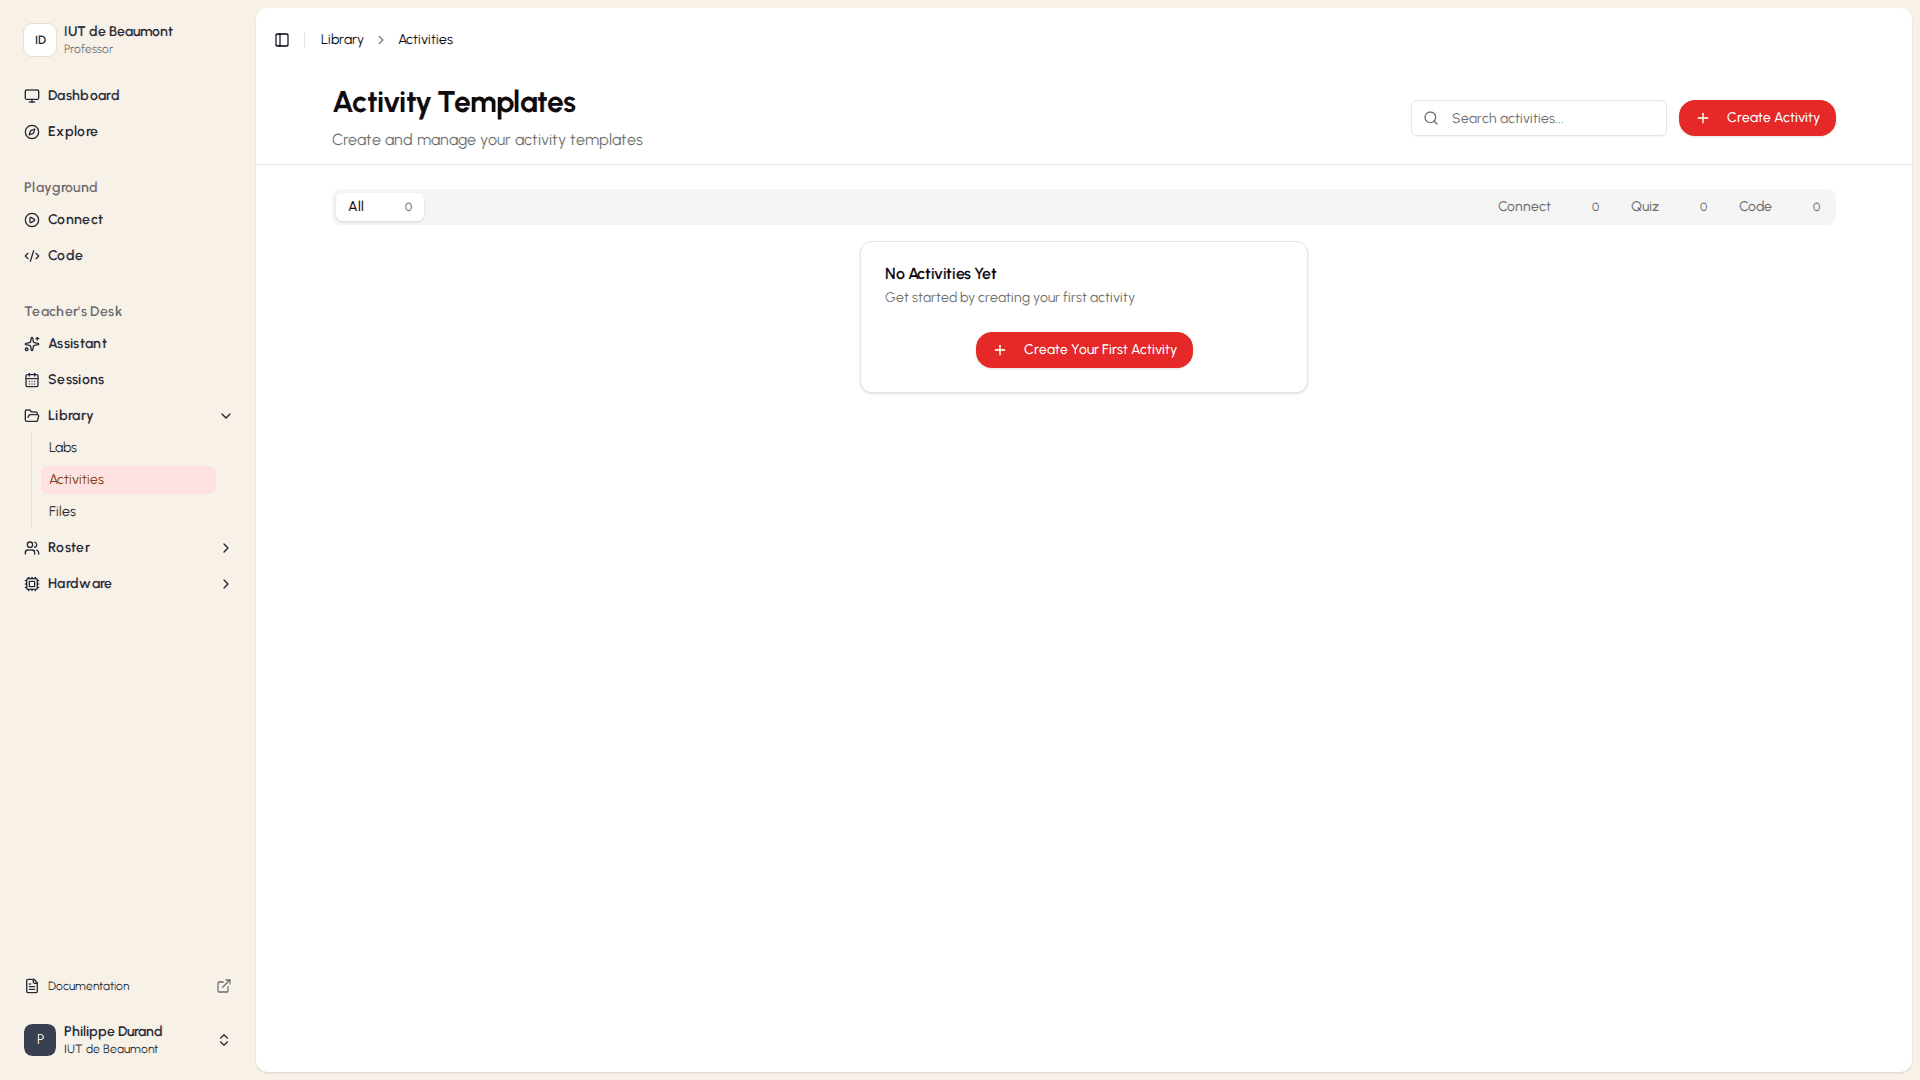
Each activity card shows:
- A thumbnail indicating the activity type (Connect, Quiz, or Code).
- The activity's title, description, and category.
- A duplicate icon, to create a copy of the activity.
- An edit (pencil) icon, to open the activity's editor. Use the filter tabs at the top of the list to show only activities of a particular type.
Creating a New Activity
- On the Activity Templates page, select + Create Activity.
The Create New Activity Content dialog opens.
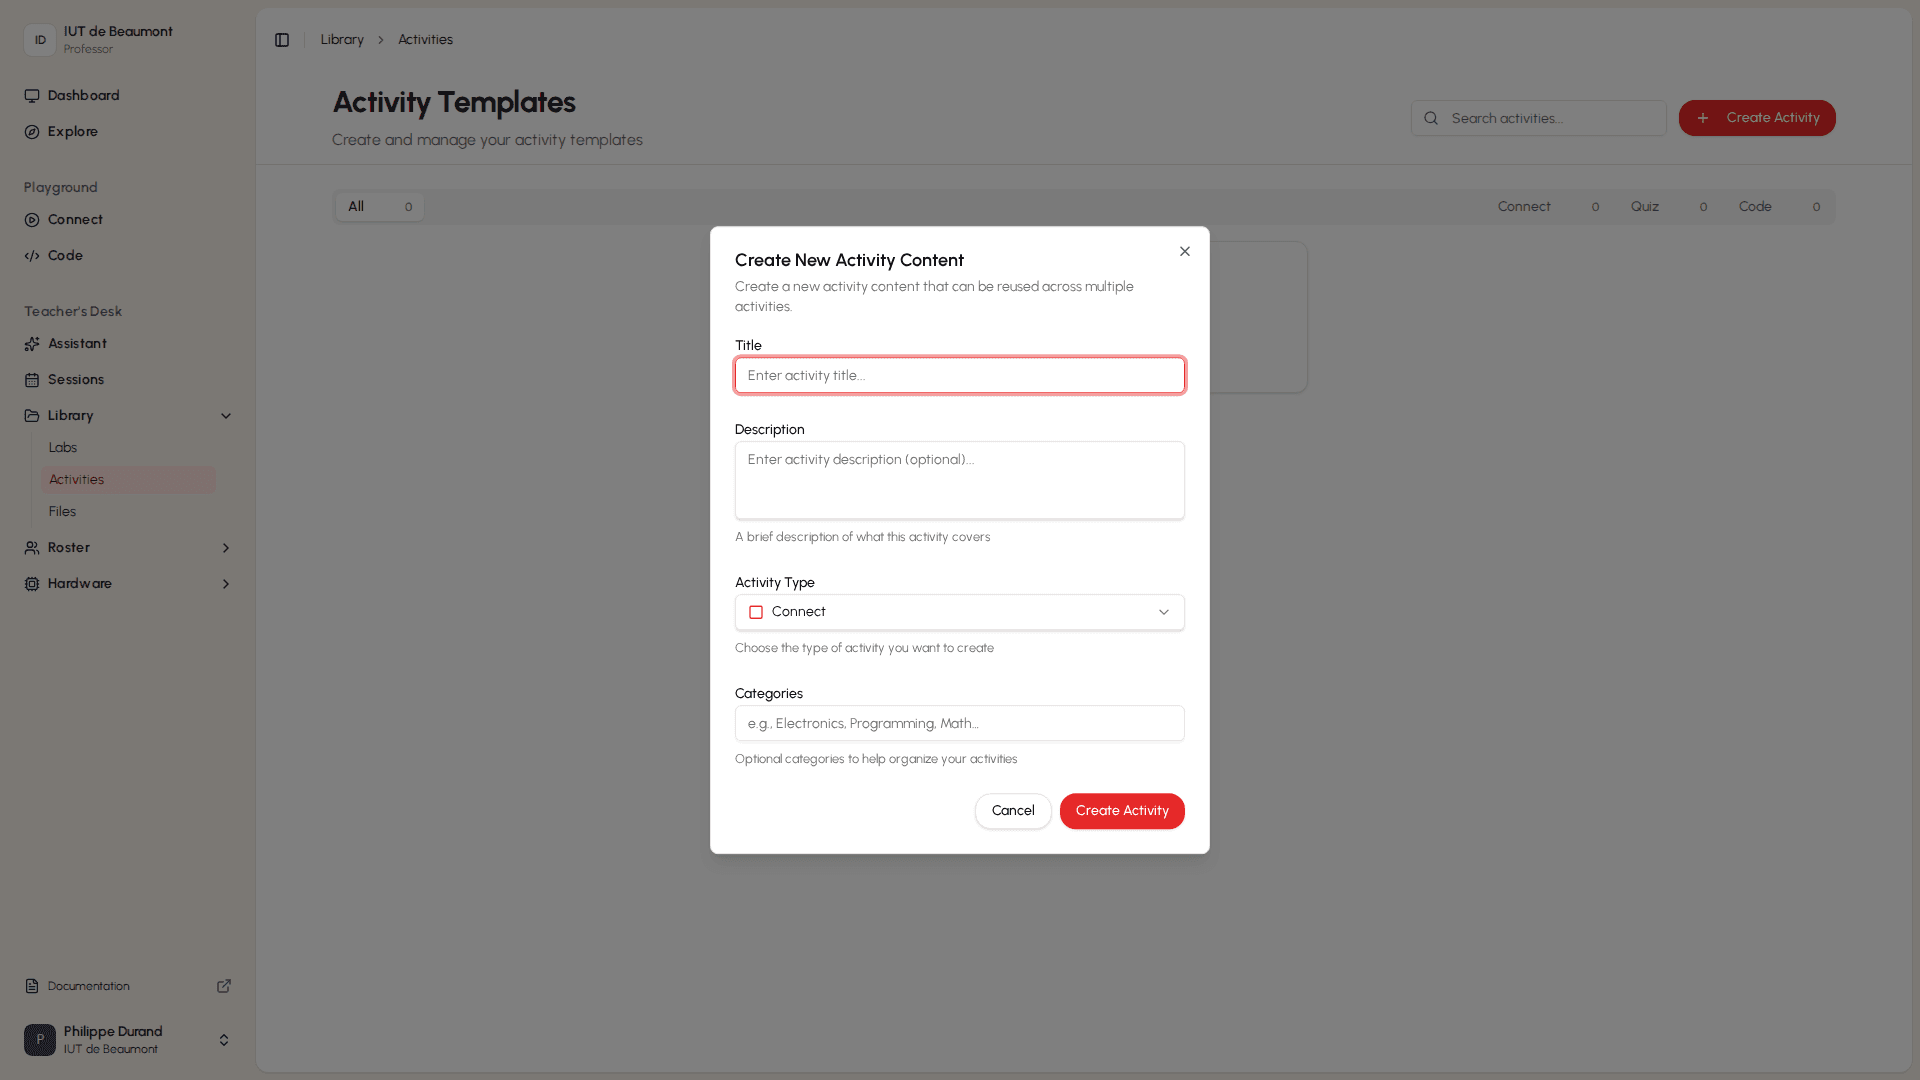
- In the Title field, enter a name for the activity.
- (Optional) In the Description field, enter a short description of what the activity covers.
- Select the Activity Type dropdown, and choose Connect, Quiz, or Code.
- (Optional) In the Category field, enter a category for the activity, such as Electronics, Programming, or Math.
- Leave Save as reusable template on to add the activity to your Activity Templates library so you can reuse it across labs. Turn it off to create a one-off activity instead.
- Select Create Activity. The activity's editor opens, where you build its content. The layout of the editor depends on the activity type you chose.
Building a Quiz Activity
When you create a Quiz activity, the quiz editor opens.
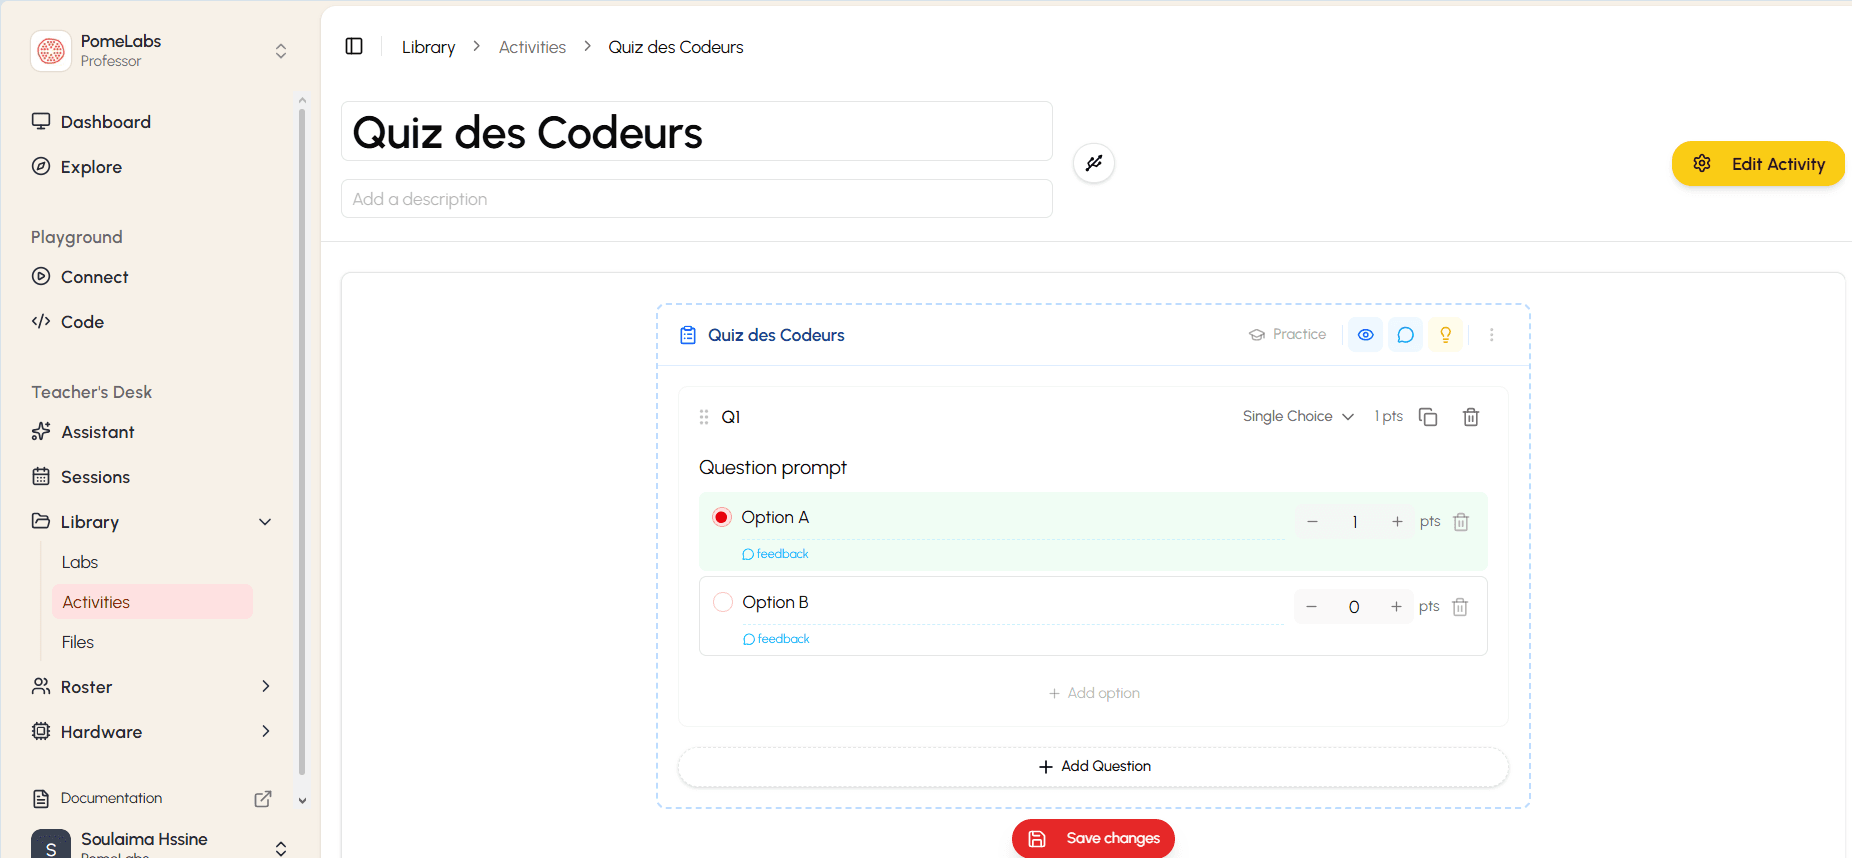
- In the title field, update the activity's title if needed, and optionally select Add a description to describe the quiz.
- For each question:
- Select the Question prompt field and type your question.
- Select the question type dropdown (for example, Single Choice) to choose how students will answer.
- For each answer option, enter the option's text, and use the +/- controls to set how many points it's worth.
- Select the radio button next to the correct option to mark it as the correct answer.
- (Optional) Select feedback under an option to add feedback shown to students who choose it.
- Select + Add option to add more answer choices.
- Select + Add Question to add another question to the quiz.
- Select Save changes.
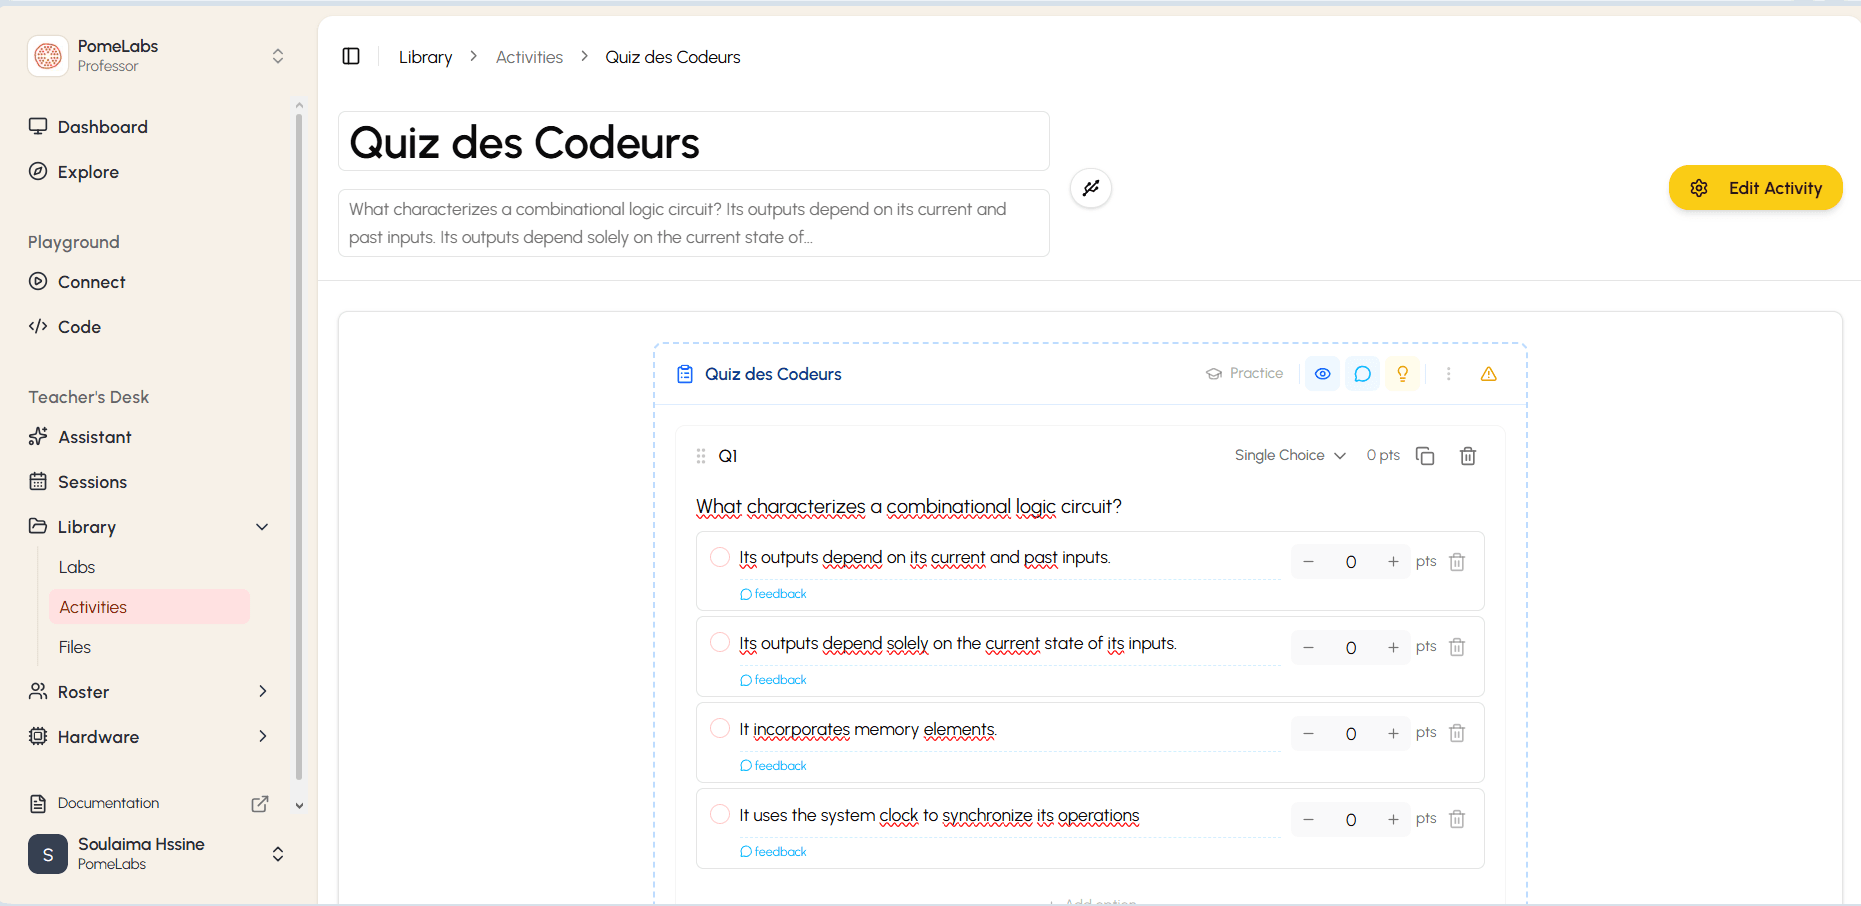
Here is an example of a quiz with its question and options filled in:
Building a Code Activity
Coming soon.
Building a Connect Activity
Coming soon.
How is this guide?