
Hardware
View and manage your organization's hardware kits, modules, and bookings.
The Hardware section gives Organization Admins a full view of every hardware kit in your institution, what each kit contains, the detailed status of every individual module, and when kits are booked.
Opening the Hardware Overview
In the left sidebar, under Hardware, select Overview.
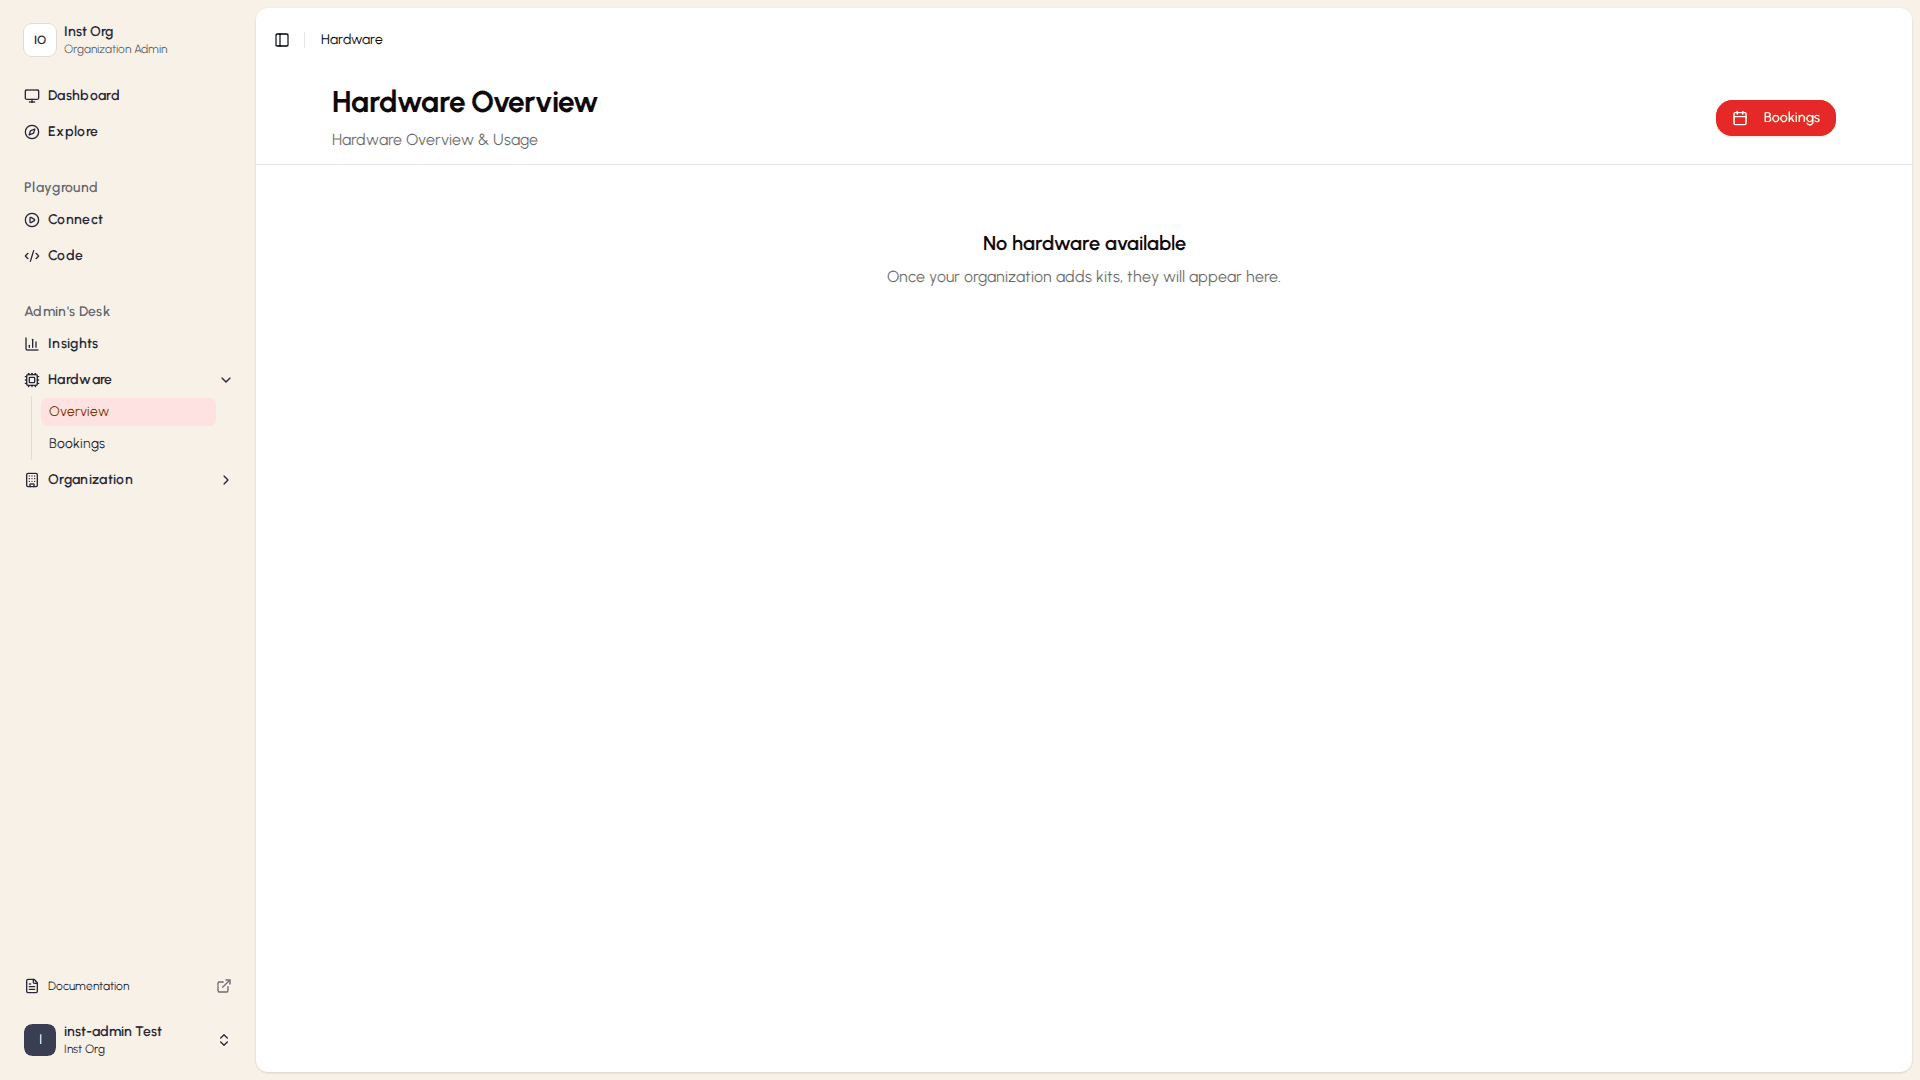
Each card shows:
- The kit's name and serial number.
- How many modules and trays it contains.
- A row of squares representing the kit's module slots: filled (red) squares are occupied slots, and empty dotted squares are unused.
- The kit's deployment status.
Select a kit's card to open its Kit Detail page.
Viewing Kit Details
Select any kit card from the overview to open its Kit Detail page.
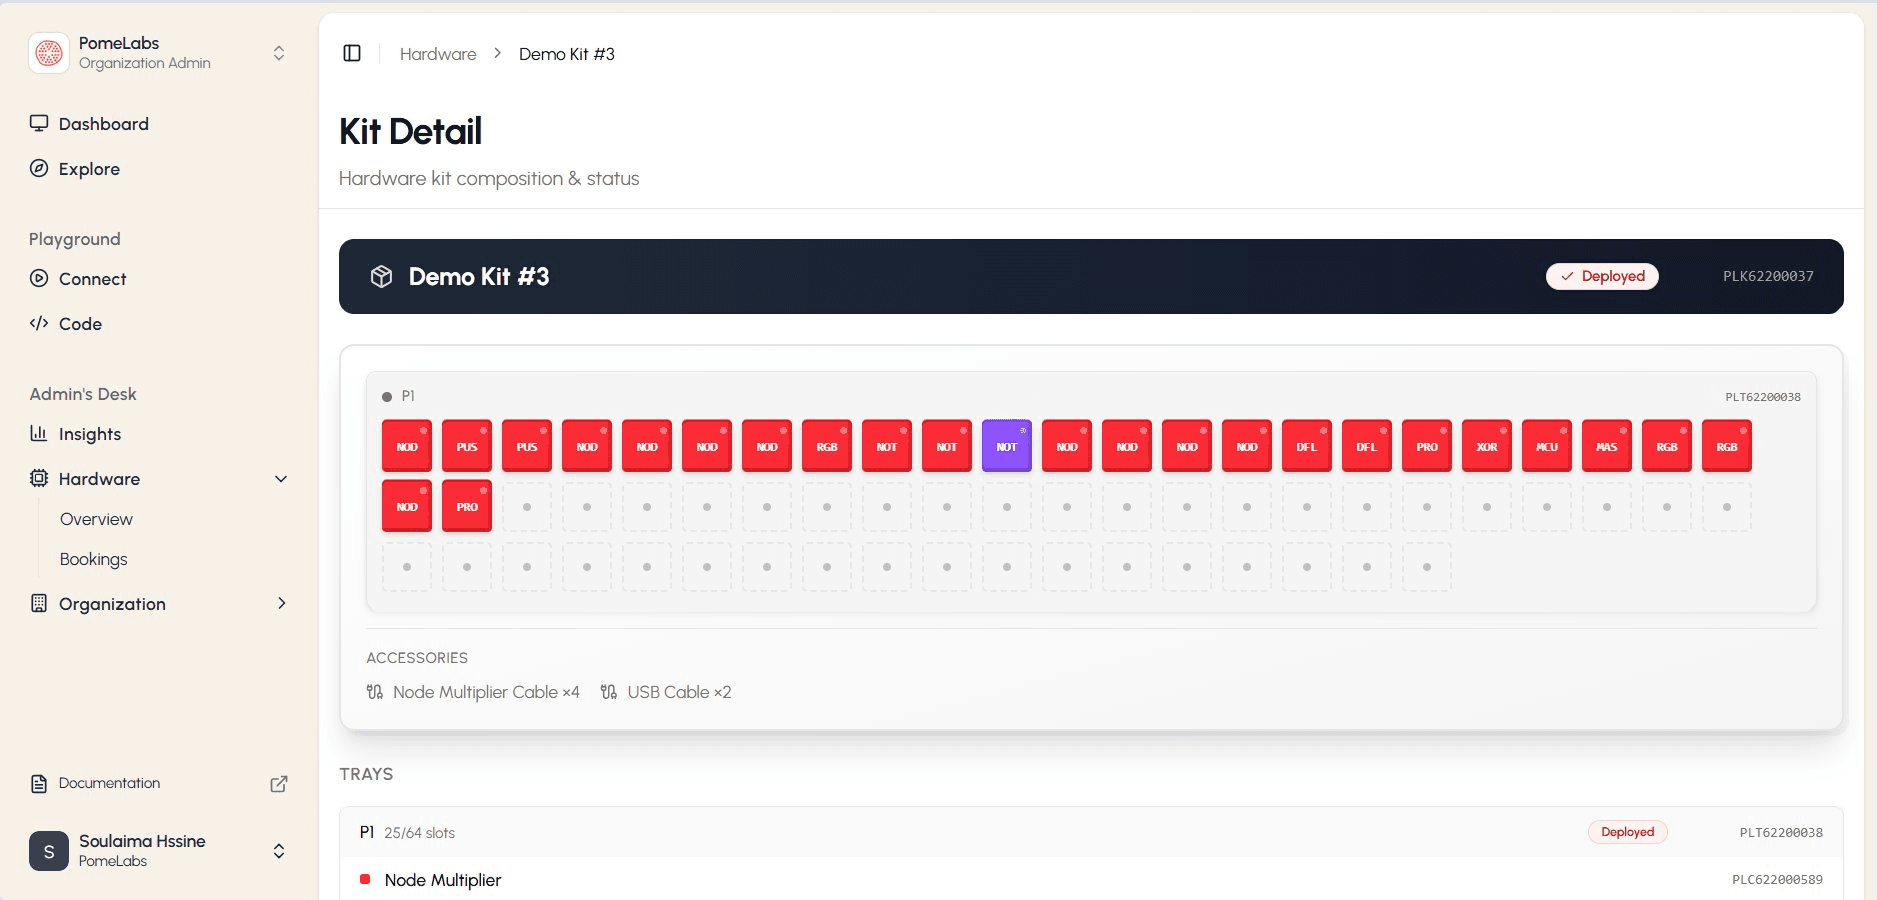
The page is organized into three areas:
- Kit header: The dark bar at the top shows the kit's name, deployment status, and serial number (PLK...).
- Tray grid: A visual map of each tray's slots. Each filled square represents an installed module; its short code identifies the module type. Empty dotted squares are unused slots. Select any filled square to see that module's full technical details (see Inspecting a Module). The color of a square indicates the module's status: red for Deployed, purple for other statuses such as Manufacturing.
- Module list and accessories: Scroll down past the grid to see every module listed by name and serial number, followed by the kit's accessories with quantities and condition.
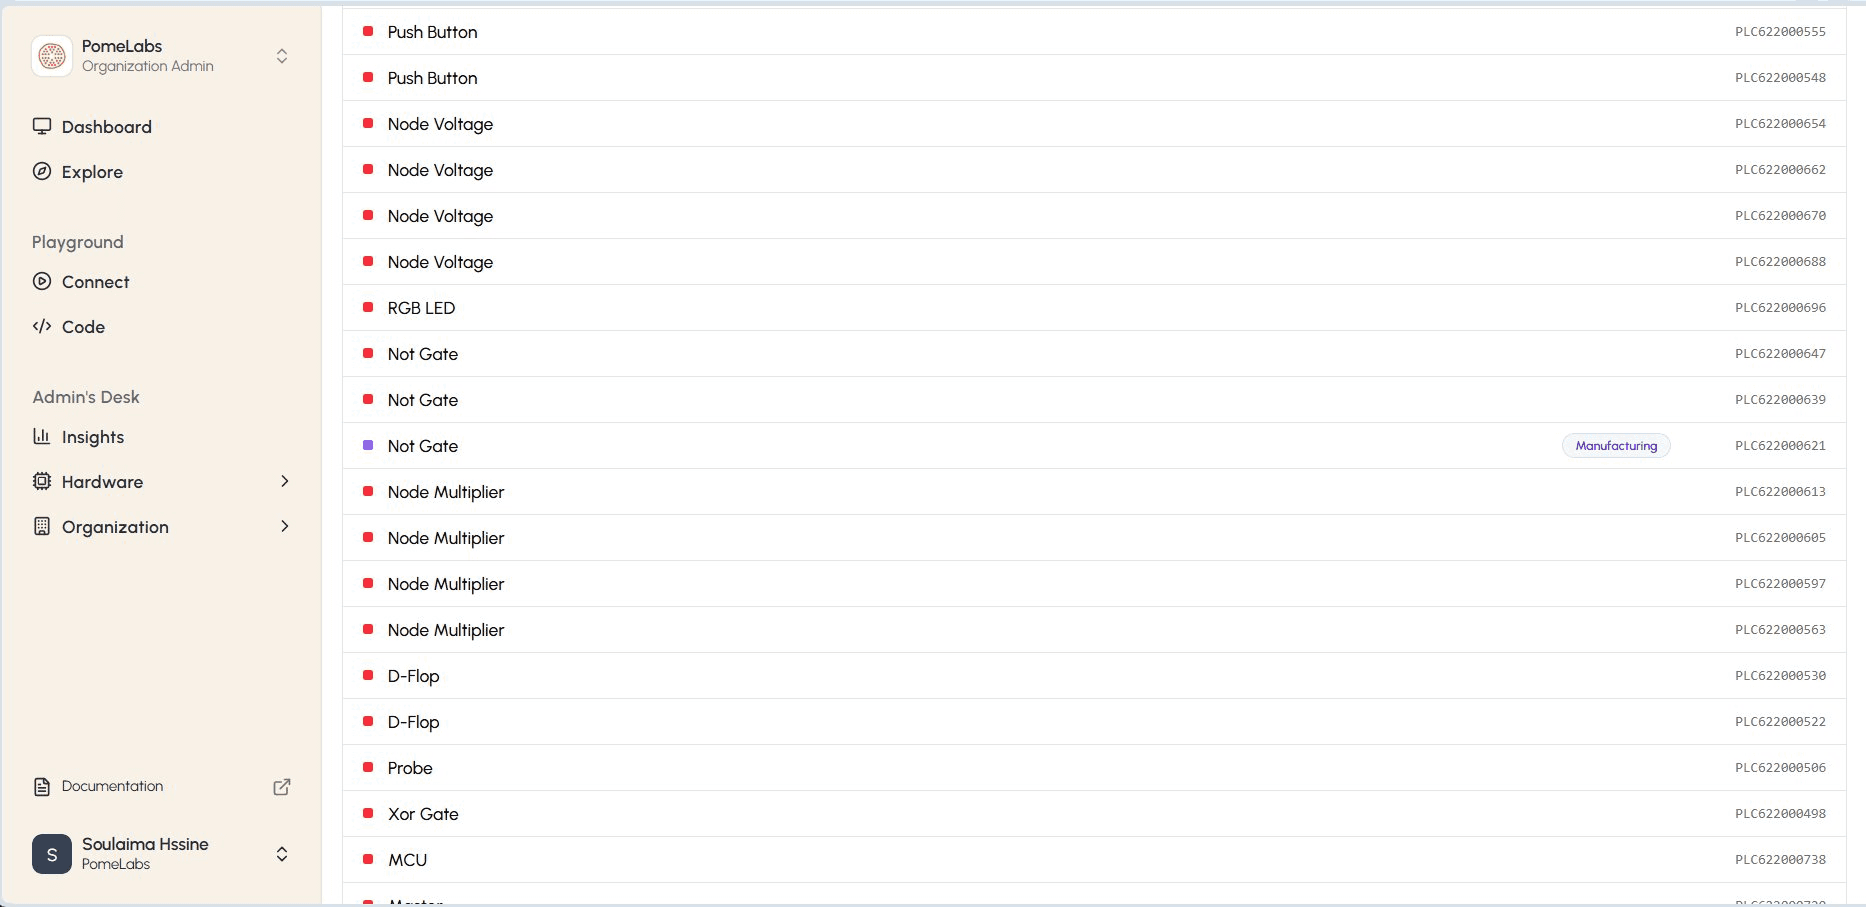
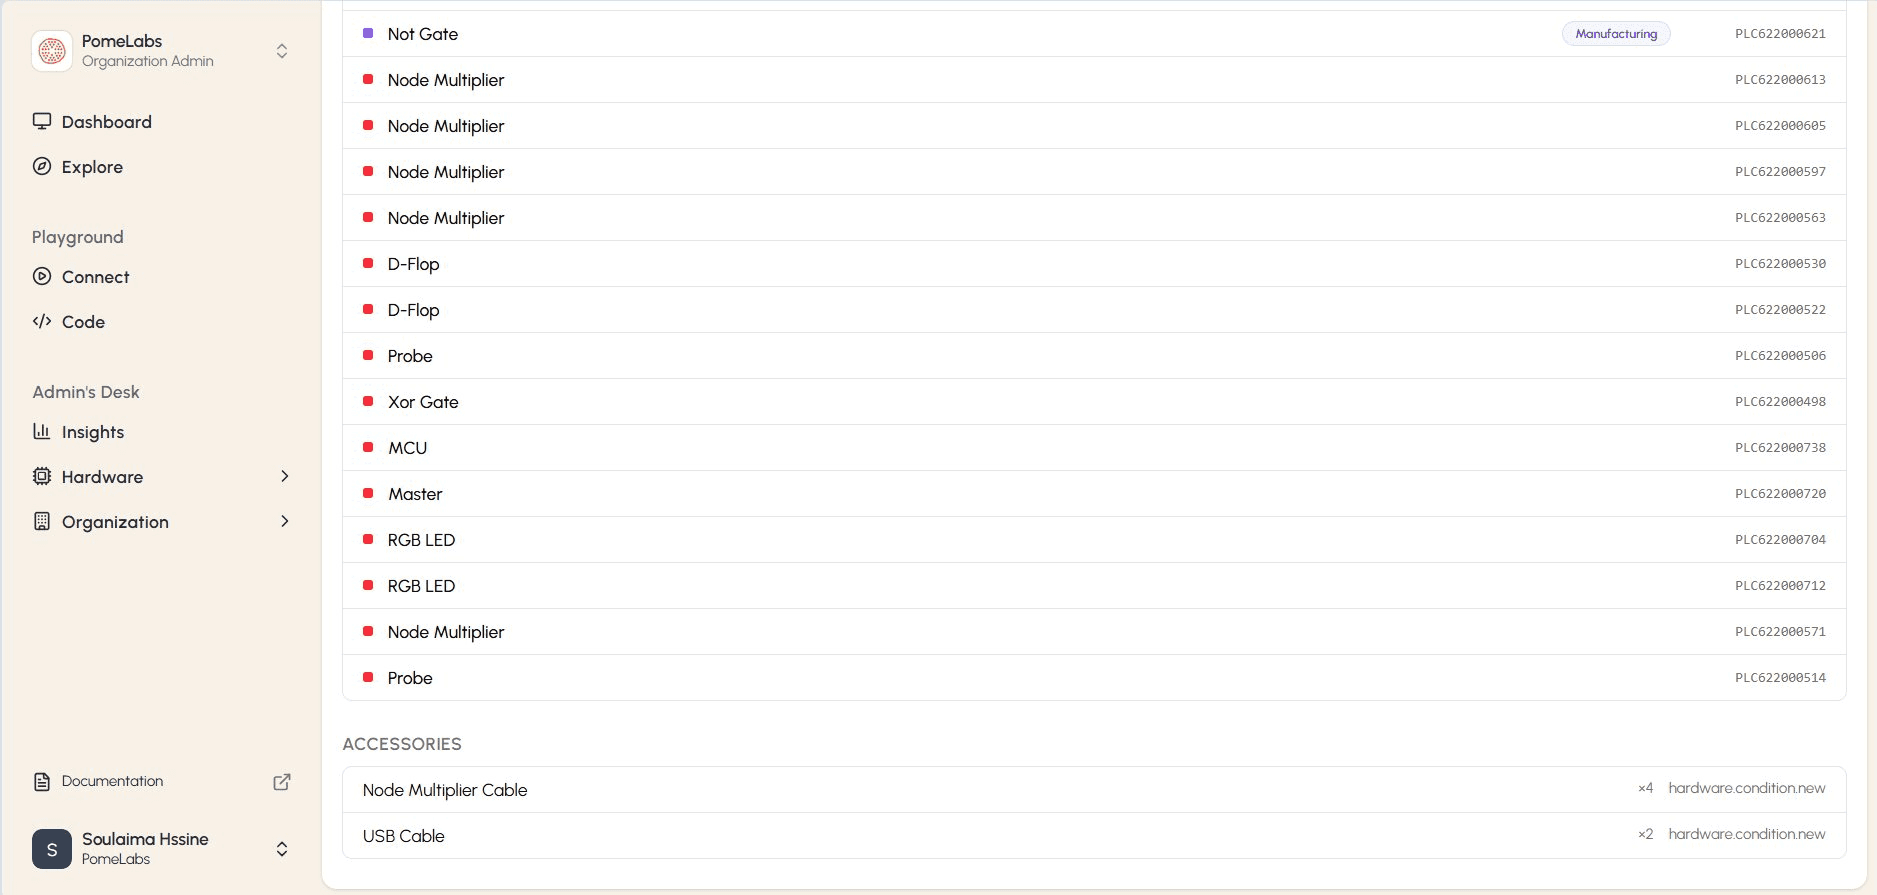
The module short codes used in the tray grid correspond to the following module types: NOD = Node Voltage, PUS = Push Button, RGB = RGB LED, NOT = NOT Gate, DFL = D Flip-Flop, PRO = Probe, XOR = XOR Gate, MCU = MCU, MAS = Master.
Inspecting a Module
As an Organization Admin, you can select any filled module square in the tray grid to open a tooltip with that module's full technical details.
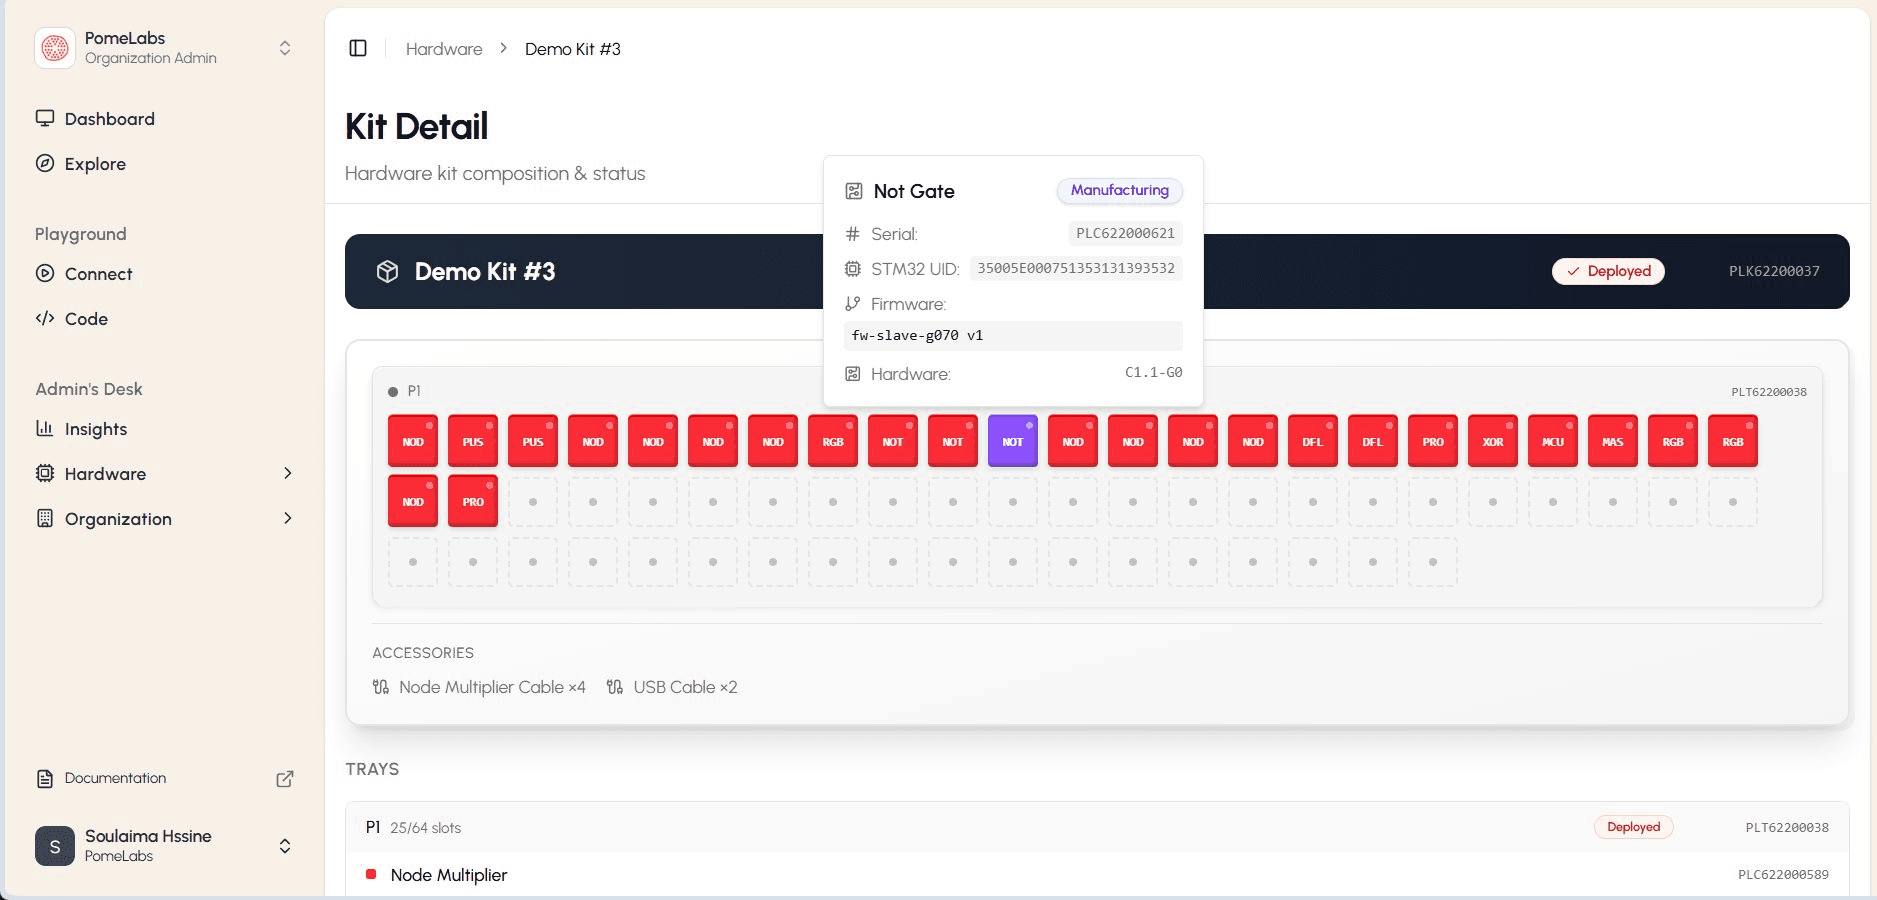
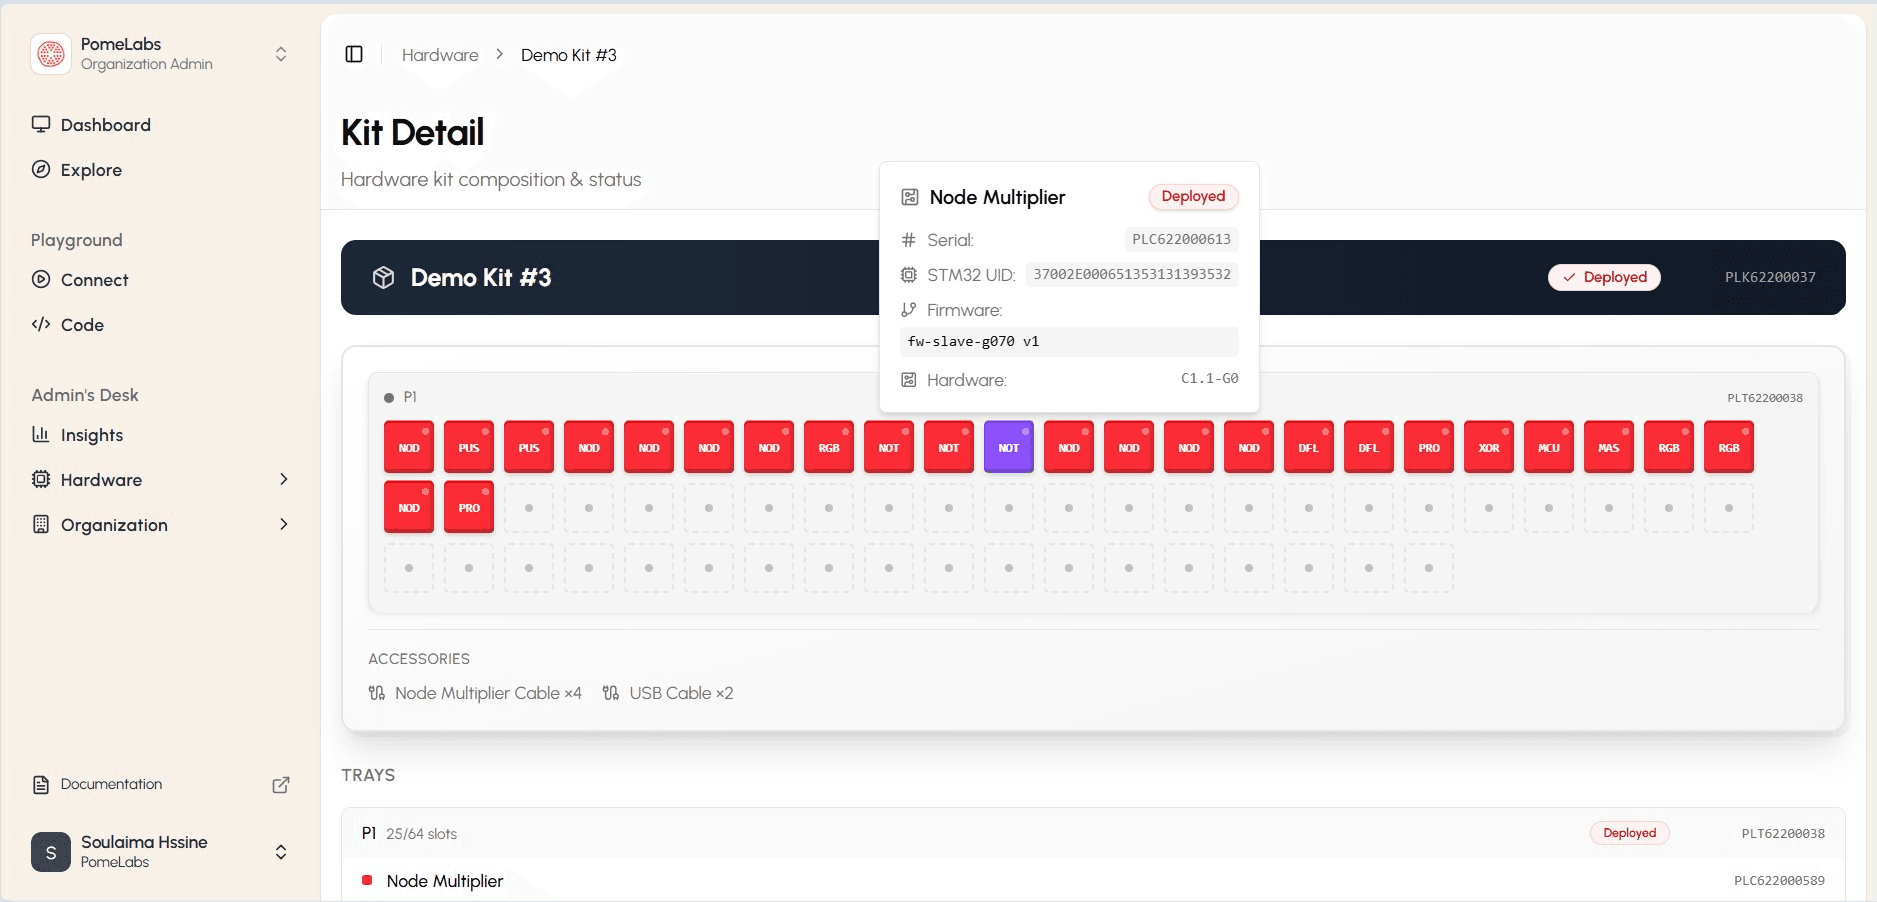
Each tooltip shows the following fields:
- Status: the module's current state, for example Deployed or Manufacturing.
- Serial: the module's unique hardware serial number (PLC...).
- STM32 UID: the unique identifier of the module's microcontroller.
- Firmware: the firmware version currently flashed on the module.
- Hardware: the hardware revision of the module's PCB.
Viewing Hardware Bookings
The Bookings page shows a weekly calendar of when each kit is in use, giving you a full picture of hardware availability across your institution.
- In the left sidebar, under Hardware, select Bookings, or select the Bookings button from the Hardware Overview page.
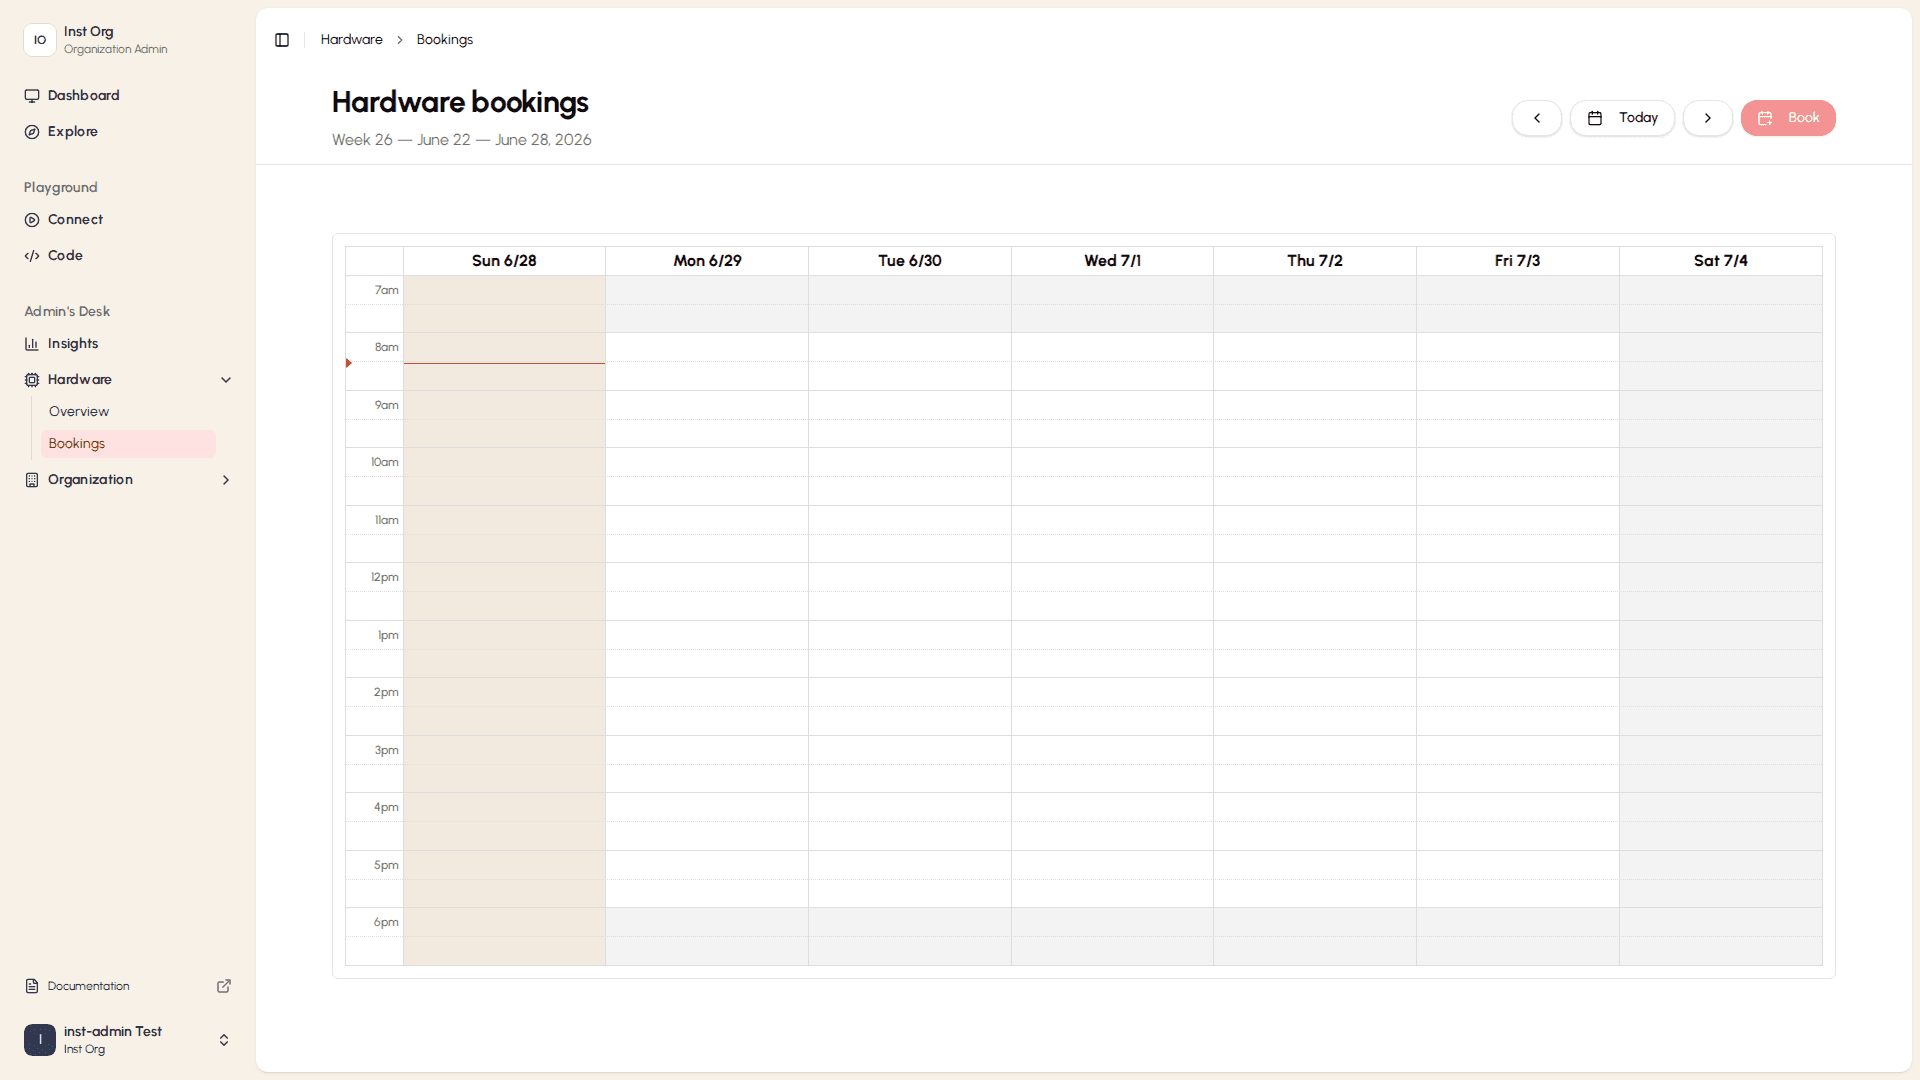
The red pill badges above the calendar identify each kit by name and module count. Existing bookings appear as blocks in the calendar at their scheduled day and time. Use the ‹ › arrows to browse other weeks, or select Today to jump back to the current week. Select Book to create a new kit booking.
How is this guide?