

Getting Started
Sign in to PomeLabs for the first time and explore your admin Dashboard.
Welcome to PomeLabs! This guide walks you through signing in to your account for the first time and introduces you to your Dashboard, the central hub for accessing all PomeLabs features.
Signing In to PomeLabs
After opening the PomeLabs app at app.pomelabs.com, you can sign in using your PomeLabs username or email address.
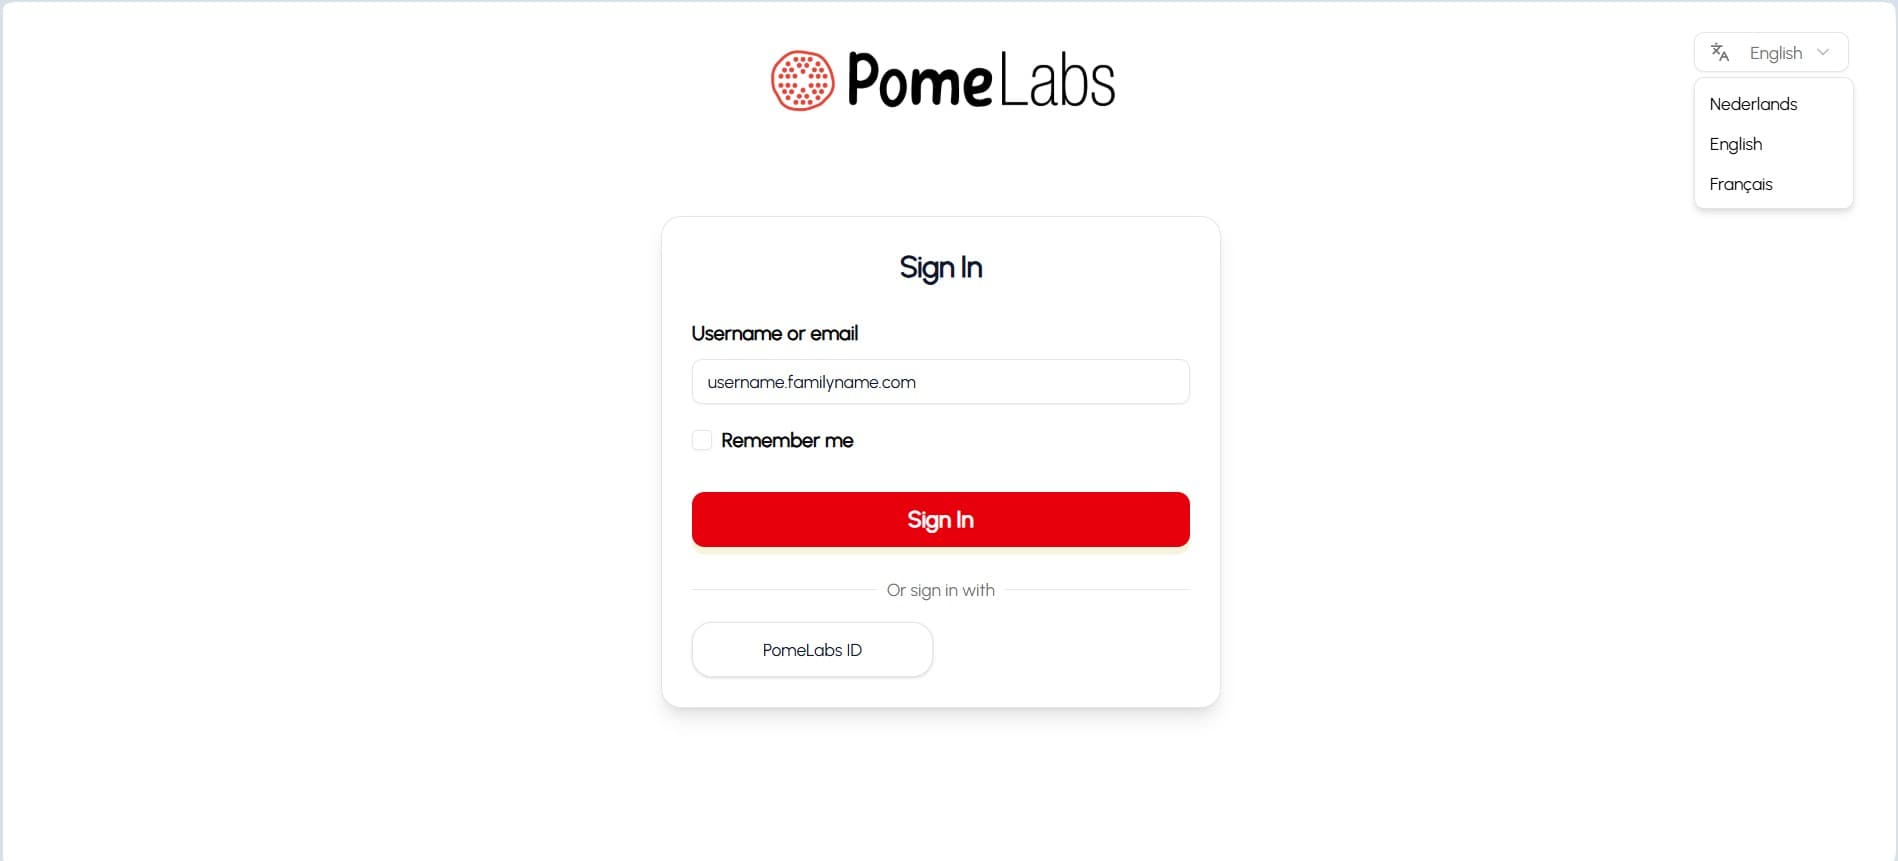
- Go to the PomeLabs sign-in page. The Sign In page opens.
- In the Username or email field, enter your PomeLabs username or email address.
- Select Sign In.
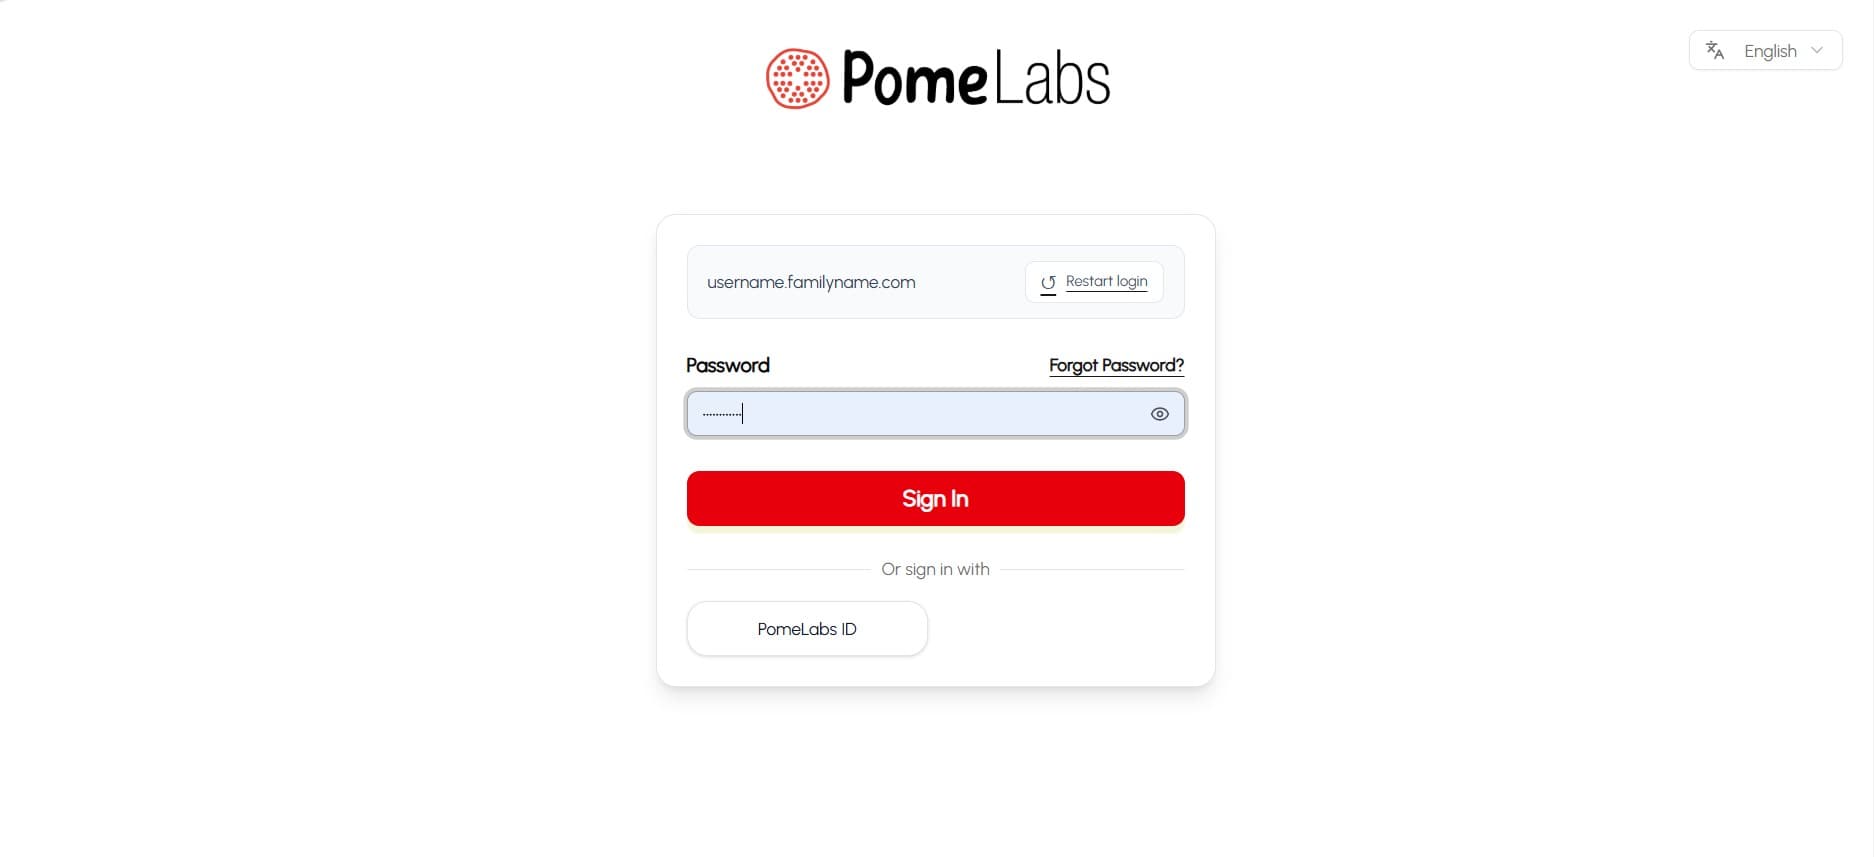
- On the next screen, enter your password in the Password field.
- To check the password you typed, select the eye icon on the right of the field.
- If you forgot your password, select Forgot Password?.
- If you entered the wrong username or email, select Restart login to go back to the previous screen.
This step may look different depending on your organization's configuration. If your organization uses Single Sign-On (SSO), you will be redirected to your organization's login page instead.
- Select Sign In.
To change the interface language, select the language dropdown in the top-right corner of the page, and then select English, Nederlands, or Français.
Select Remember me to stay signed in on this device.
Interface Overview
After you sign in, the app opens to your Dashboard. From here you can access the Playground, your administration tools, and your account settings through the navigation sidebar.
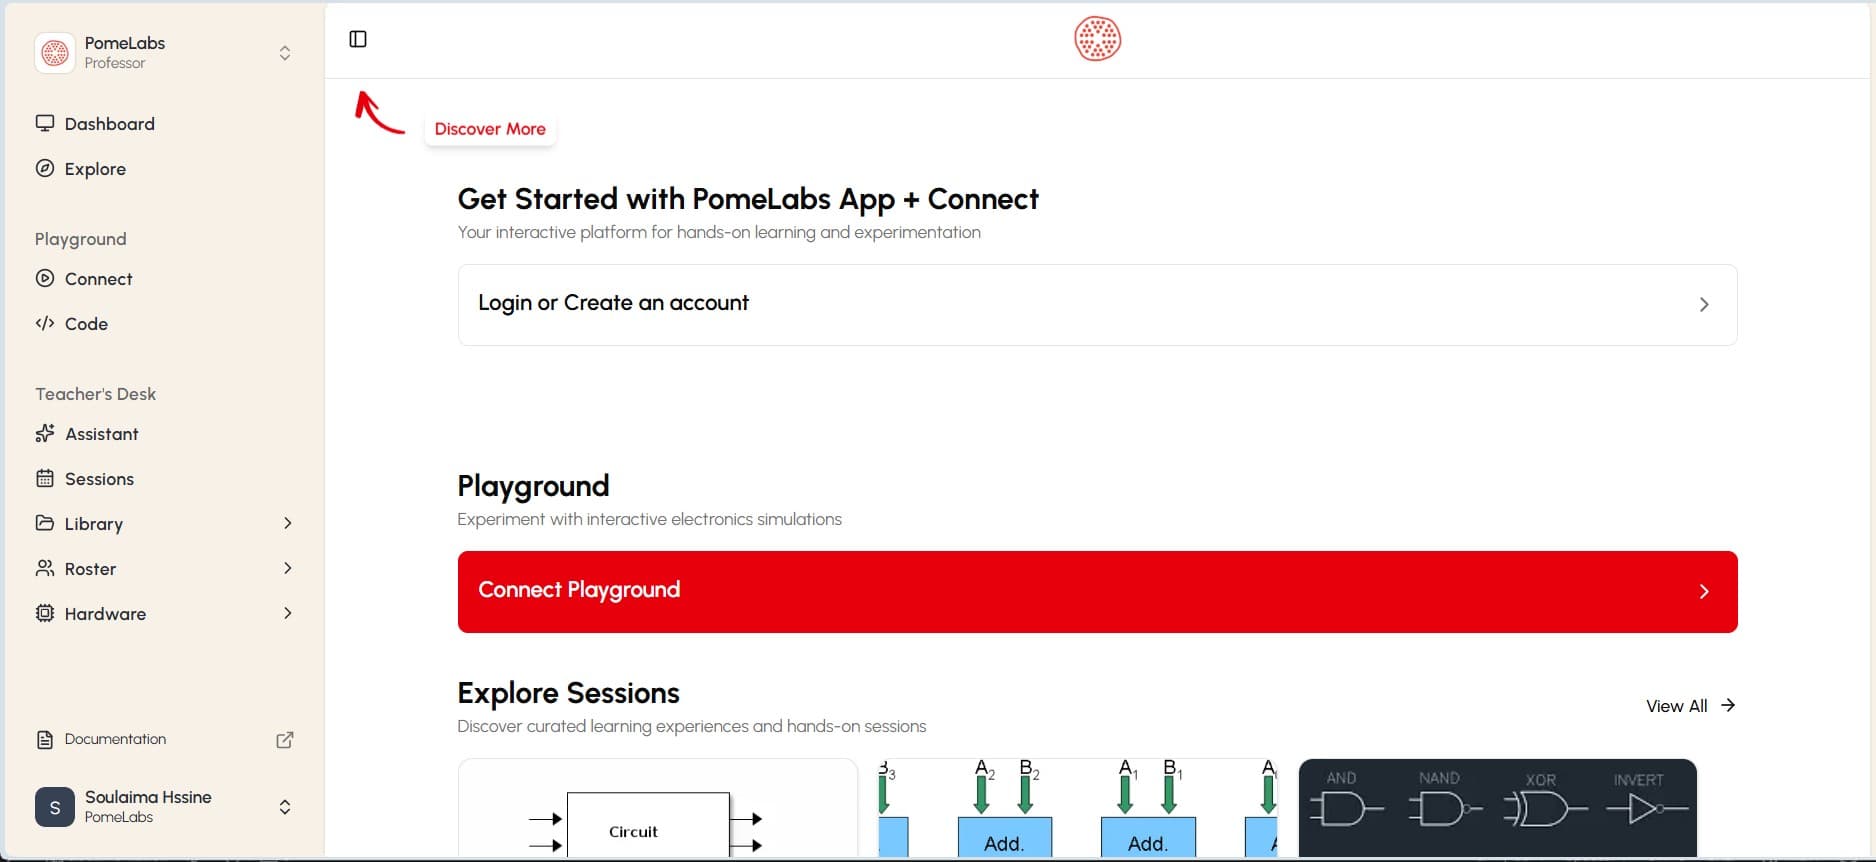
Navigation Sidebar
The sidebar on the left gives you access to the following areas:
- Dashboard returns you to this overview page from anywhere in the app.
- Explore: lets you browse all the available content and sessions.
- Playground: contains two sections:
- Connect: where you link hardware to PomeLabs to test your experiments and make sure they work as expected.
- Code: where you write and run code for your experiments.
- Admin's Desk: contains the administration tools for your organization:
- Documentation: takes you to this documentation website if you need any help with the usage of the app.
- Profile: lets you manage your account information, choose the theme you prefer, add feedback for the app, and log out.
How is this guide?